- Posted By: admin_designphase
- Comments: 0

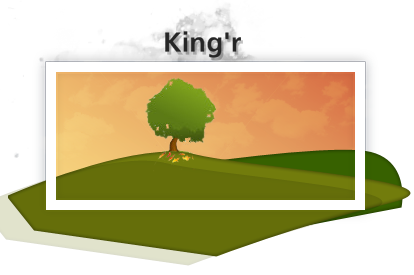
Sometimes we need to create a very interesting logo for a client looking to look outside of the book. This logo brand is not real this is just for show (King’r is nothing, I think?). We are going to be creating the logo above. It is rather simple, and pretty effective. It has the nice modern look, and is very funky.
To get the full effect of this tutorial you must know photoshop at a basic level. I dont discuss how to use the pen tool. This is more of a design tutorial. I go over how to create the look of the logo. If you need more help you can check out some of the basic tutorials on our site!
Getting Started
Start off by creating a new canvas about 480x640, or any size you wish to work with. For print designs your better off working at a huge scale or using illustrator. In the middle of the canvas create a box with the rectangle marquee tool. In the blending options put a fine 1 pixel border with a light grey. Also add a nice faint drop shadow with a distance of 0. Make the opacity very low to create the realistic shadow.

Making the sky
Now we need to setup the sky. Make a selection the same size as the box you made in step one, and in a new layer fill it with a nice gradient with those colors. Make the gradient on an angle.

Now get a image of clouds and make a new layer above the gradient, and copy and paste the image on it. Make the blending layer to overlay and turn down the opacity. Now we will have a nice realistic clouds.

How to create the mountains
To create the hills use the pen tool with a green fill. You can be as creative with the placement, and shape of the hills as you would like. Once you have the first hill done go to the blending option and select inner glow. Make the color black, and put it multiply and turn down the opacity to around 20%.

Now do that again in new layers above and below this layer. Use darker colors in the back, and lighter colors in the front. Again be creative with the placements of the hills.
